

This session we delved into more tools that can be used to create textures and shades without just using the brush tool.
 When creating the gradient for the sky, I made my sky too light and had to spend a bit more time testing and selecting the right colours to create a richer selection of colours.
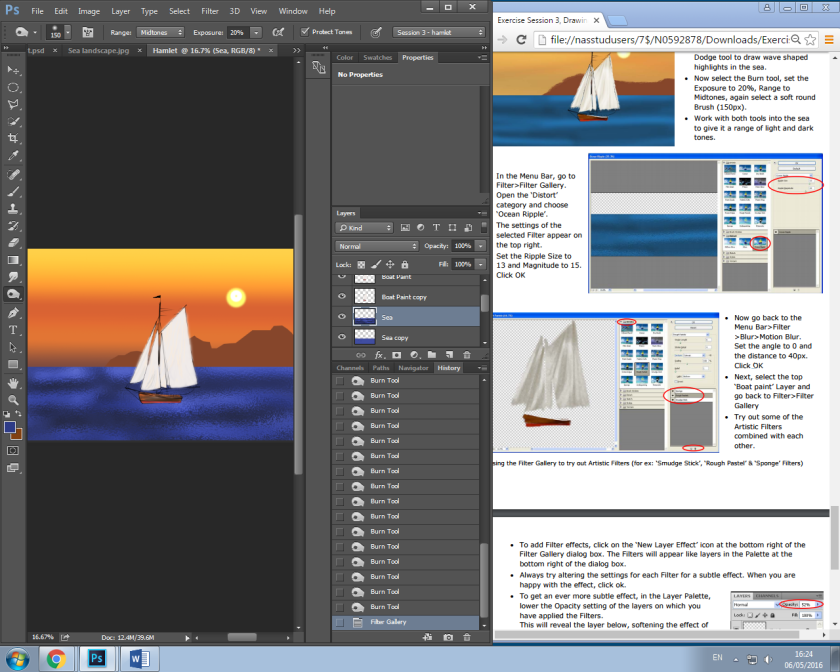
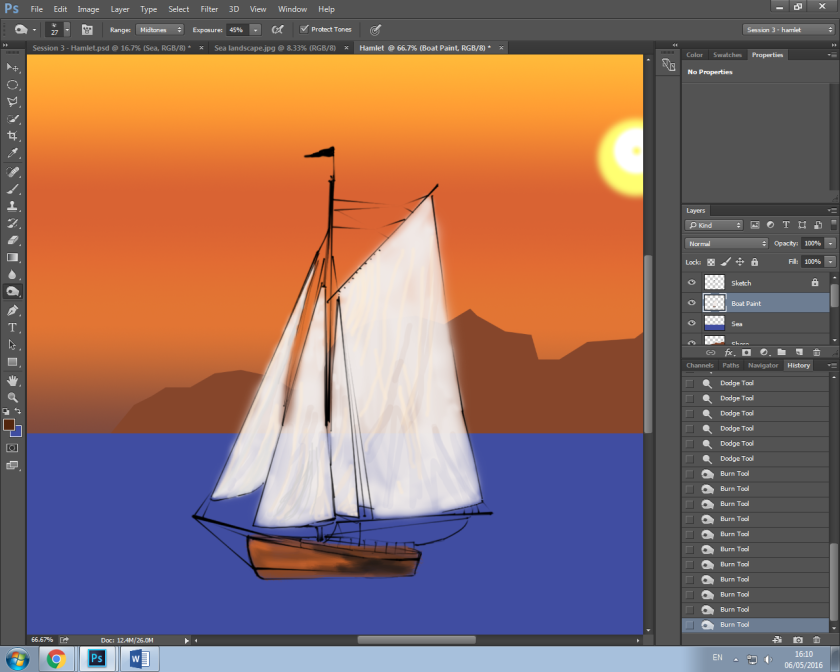
I haven’t used the burn and dodge tools before so at first I wasn’t sure what the effect of them was supposed to be but after playing around I realised how useful they are in creating the shadows and reflections of light and dark on objects. They add depth and make it look more realistic to instead of just using a brush tool selecting different colours that might not be the right shade. Quicker and more accurate way.
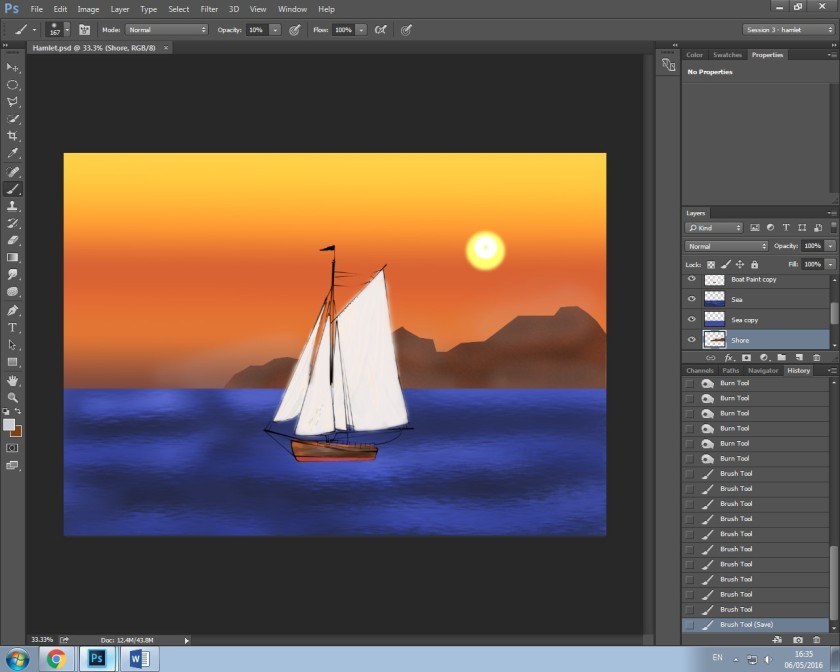 In the image above I added texture to the shore, burn and dodge tool to the shore and Filter >
filter gallery > Smudge stick.
Although I have used filter’s before I used to pick them at random, therefore this time it was more selective as a texture was to be replicated.
Then to create the mist to the shore using the brush tool.
I found that this session was more challenging and although I came across a few issues e.g. using the burn tool too much and making the boat too dark. The skills I gained from this were very useful from changing the size of the brush to the opacity so that paint strokes wouldnt come out in giant blobs of colour.
